How to Use a Ruler in a Bullet Journal for Straight, Even Layouts
Ruler technique for dot-grid pages: count squares instead of measuring, divide a page into equal columns, keep ink from smearing along the edge and draw rows of boxes quickly.
Tutorial at a glance
Materials
- 6-inch (15 cm) clear ruler with a beveled edge
- Pencil and eraser
- 0.3 mm fineliner
- Tissue for wiping the ruler edge
- Masking tape (optional)
Learning how to use a ruler in a bullet journal has less to do with measuring than you might expect. On a dot-grid page the dots already do the measuring. The ruler only has to join them in a straight line without dragging wet ink across the paper.
That turns the skill into a few small habits: counting squares, marking before drawing, and holding the ruler so the ink stays where you put it. Each takes a minute to learn and saves a redrawn page.
Choose a short, clear ruler
A 6-inch (15 cm) ruler spans the width of an A5 page, which is 5.8 inches (148 mm), and still fits in a pen case. For full-height vertical lines on a page 8.3 inches (210 mm) tall, either slide the short ruler once or keep a 12-inch (30 cm) ruler at your desk.
Clear plastic is the most useful material, because you can see the dots under the ruler and line it up at both ends. Metal rulers stay straight for years but hide the grid. Whichever you pick, look for one edge that is beveled or slightly raised; it matters for smearing, as explained below.
Count dots instead of measuring
A 5 mm dot grid is standard, so every square is the same size and you can plan in squares instead of inches. A typical A5 page has roughly 26 to 27 squares across and 38 to 39 down, but this varies by notebook. Count your own page once and write both numbers inside the cover.
From then on, a layout is just arithmetic with small numbers: a box 12 squares wide, a header 2 squares tall, a margin of 1.
Watch out
Count the squares, not the dots. A line that covers 12 squares touches 13 dots, and mixing the two up is the most common reason a box comes out one square too narrow.
Divide a page into equal columns
Equal columns are the base of most weekly and monthly layouts. The method is the same every time:
- Take the number of squares across your page.
- Decide how many columns you want and how wide the gap between them should be: none, or 1 square.
- Subtract the gaps, then divide what is left by the number of columns.
- If the result is not a whole number, round down and put the leftover squares into the outer margins.
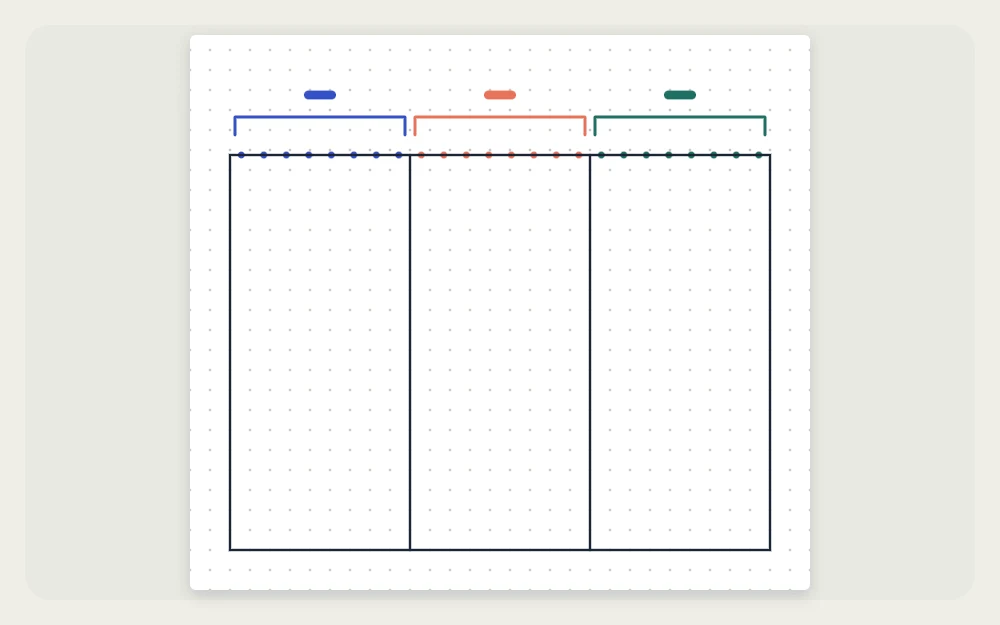
- Make small pencil ticks for each column edge at the top of the page and again at the bottom.
- Lay the ruler across each pair of ticks and draw the line.
For example, on a page 26 squares wide, three columns with a 1-square gap work out exactly: 8 + 1 + 8 + 1 + 8 = 26. On a page 27 squares wide, the same columns leave 1 spare square for a margin.
Seven columns are harder, because seven narrow strips on one A5 page leave only about 3 squares per day. That is why a simple weekly spread divides the week over two pages, and why a monthly spread runs its calendar grid across both.
Keep ink from smearing
Ruler smears have three causes: ink creeping under the edge, the ruler sliding over a wet line, and ink that has collected on the ruler printing itself onto the next line. Each has a simple fix.
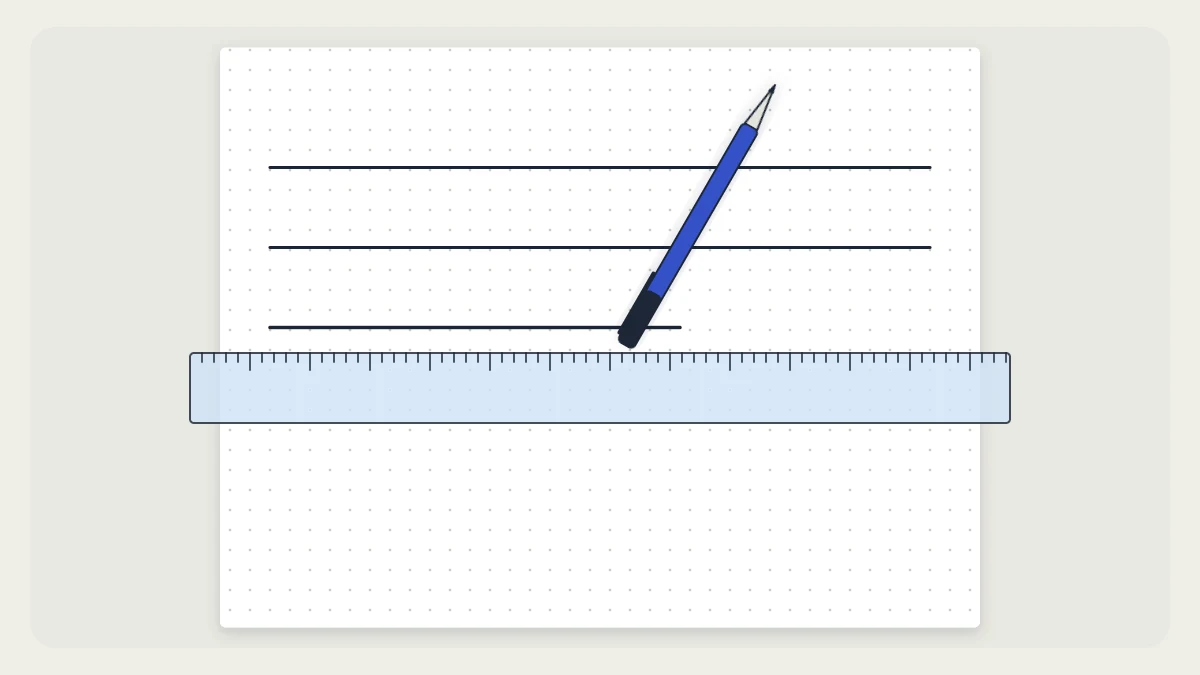
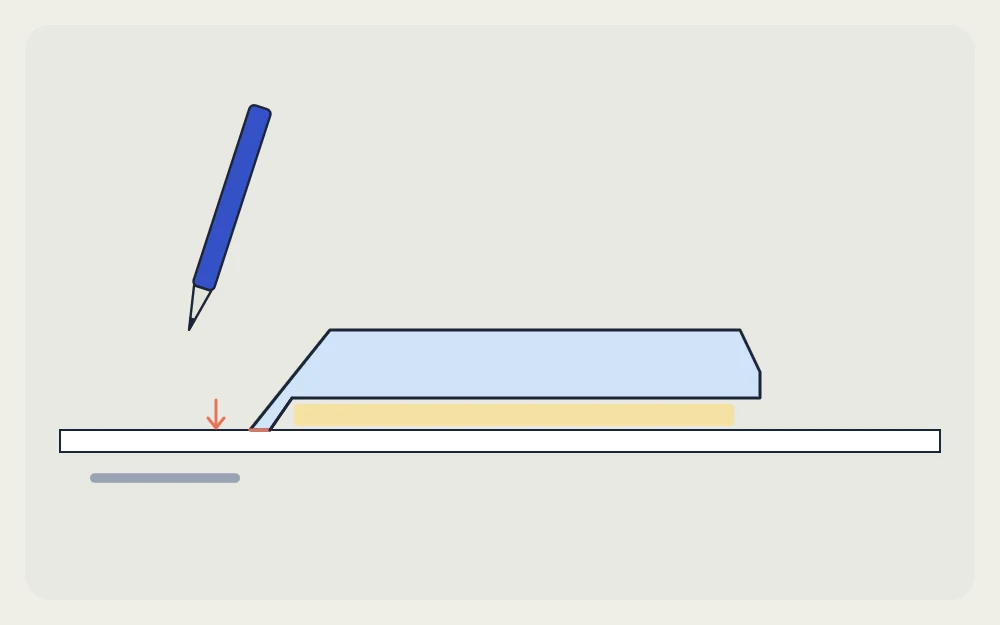
- Raise the edge. Turn the ruler so the beveled side faces down. The drawing edge then sits just above the paper, and ink has no surface to creep along. On a flat ruler, a strip of masking tape on the underside, set slightly back from the edge, does the same job.
- Pull the pen. Draw toward yourself or along your natural hand direction in one steady pass, with the pen at the same angle from start to finish. Pushing the tip forward makes it catch and skip.
- Lift, do not slide. When the line is done, pick the ruler straight up.
- Wipe the edge. Run a tissue along the ruler every few lines, and always after gel ink.
- Work away from wet ink. Draw from the top of the page down, and from left to right if you are right-handed or right to left if you are left-handed, so your hand and ruler rest on dry paper.
Use light pressure against the edge. A fine felt tip pressed hard into a ruler wears down quickly, and the line gets no straighter for it.
Draw boxes fast
Drawing each box one side at a time means turning the ruler four times per box. Drawing by direction is quicker and keeps the lines parallel.
- Tick the corners of every box in pencil, counting squares from the page edge.
- Draw all the horizontal lines, working from the top of the page down. Where boxes sit side by side, draw one long line through the whole row.
- Give the ink a few seconds, then turn the notebook a quarter turn and draw all the vertical lines the same way.
- Stop each line at its tick instead of running past the corner.
- Erase the pencil only when the ink is fully dry.
A clear ruler helps here too: line up one of its printed markings with a line you have already drawn, and the next one will be parallel without counting again.
Tip
Near the center fold, press the notebook flat and draw toward the fold from the outer edge. Finish the last short stretch freehand if the ruler will not sit level.
Quick fixes for common ruler problems
- The line drifts off the dots. A pen tip sits a hair away from the ruler edge. Set the edge just beside the dots, not on top of them, and check both ends before you draw.
- The ruler slips. Spread your fingers along its length and press down in the middle, not at one end.
- A line came out crooked anyway. Thicken it into a double line or cover it; the options are in how to fix bullet journal mistakes.
Once plain lines feel easy, the same ticks and counts let you space dashes, dots and zigzags evenly, which is how the borders and dividers on a decorated page are built.
Frequently asked questions
What size ruler is best for an A5 bullet journal?
A 6-inch (15 cm) ruler covers the full width of an A5 page and is easy to carry. It is slightly shorter than the page height, so long vertical lines take two placements. If you mostly journal at a desk, a 12-inch (30 cm) ruler handles those in one pass.
Why does ink smear when a ruler is used?
Usually because the ruler edge sits flat on the paper and wet ink creeps underneath, or because the ruler is slid sideways across a fresh line. Turning a beveled edge face down, lifting the ruler straight up and wiping its edge every few lines solves most cases.
Is a ruler needed at all on dot-grid paper?
Not strictly. The dots guide freehand lines well enough for short strokes, and some people like the looser look. A ruler earns its place on long lines, calendar grids and rows of equal boxes, where small wobbles add up and become noticeable across a whole spread.