Bullet Journal Borders and Dividers: 12 Simple Line Ideas
Eight divider lines and four corner decorations made from repeated dashes, dots, waves and leaves, with dot-grid spacing tips and a plain rule for when a divider actually helps a layout.
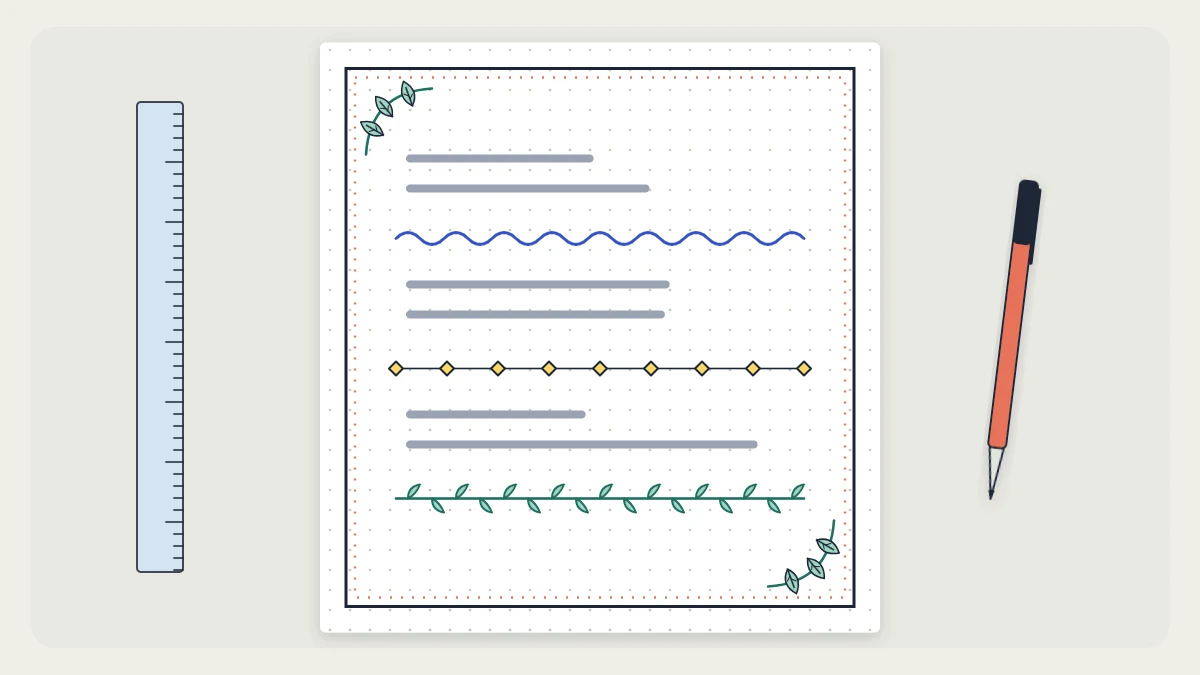
Bullet journal borders and dividers are made from one small mark repeated at an even rhythm: a dash, a dot, a curve, a tiny leaf. Because the mark is so simple, the result depends on spacing, not on drawing ability, and the dot grid handles the spacing for you.
Here are 12 ideas: eight divider lines and four corner decorations, plus how to turn any of them into a full-page border and how to tell whether a page needs a divider at all.
Use the dot grid as a spacing guide
On a 5 mm dot grid, every dot is a ready-made tick mark. Decide how many squares one repeat of your pattern takes, then follow the dots: one wave per 2 squares, one diamond per square, one dash per square with a short gap after it.
Before you start a full-width line, count the squares across your page. A typical A5 page has roughly 26, but notebooks differ. If your repeat is 2 squares wide, an even count ends cleanly; with an odd count, start half a square in from each side so the pattern stays centered.
Work from left to right if you are right-handed and from right to left if you are left-handed, so your hand does not drag through wet ink.
Eight divider lines
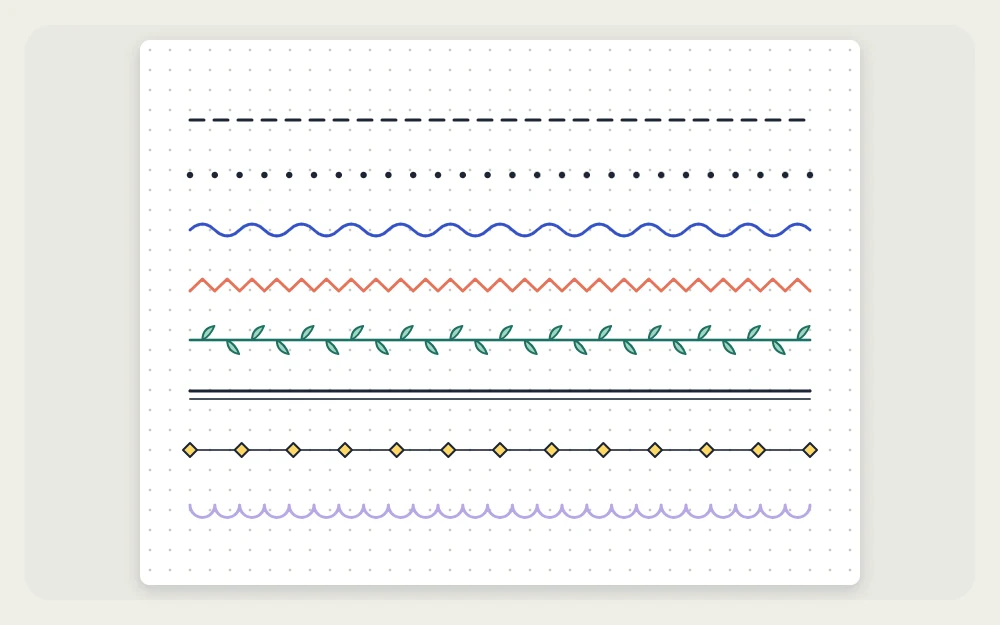
- Dashed. Short strokes 1 square long with half-square gaps. Pull each stroke along a ruler for a crisp look, or draw freehand for a softer one.
- Dotted. One dot on each grid dot and one halfway between. Press and lift; a flick turns dots into commas.
- Wave. A continuous curve that rises through one square and falls through the next. Keep the peaks level by touching the row of dots above.
- Zigzag. The straight-line version of the wave: up one square, down one square. Sharp, even points matter more than speed.
- Leaf vine. Draw a gentle wavy line first, then add a small leaf on alternate sides every 2 squares.
- Double line. Two ruled lines half a square apart. Make one of them thicker for a more formal look.
- Diamonds. A row of small diamonds, each 1 square wide, touching point to point. Fill every second diamond for contrast.
- Scallops. A row of half circles, each 1 or 2 squares wide, like the edge of a lace ribbon. Add a dot under each join for more detail.
The dashed, dotted and double lines take a few seconds and suit pages you draw every week. The vine, diamonds and scallops take longer, so save them for covers and collections you plan to keep.
Four corner decorations
A corner mark frames a page with far less drawing than a full border. Draw the same mark in two opposite corners, or in all four.
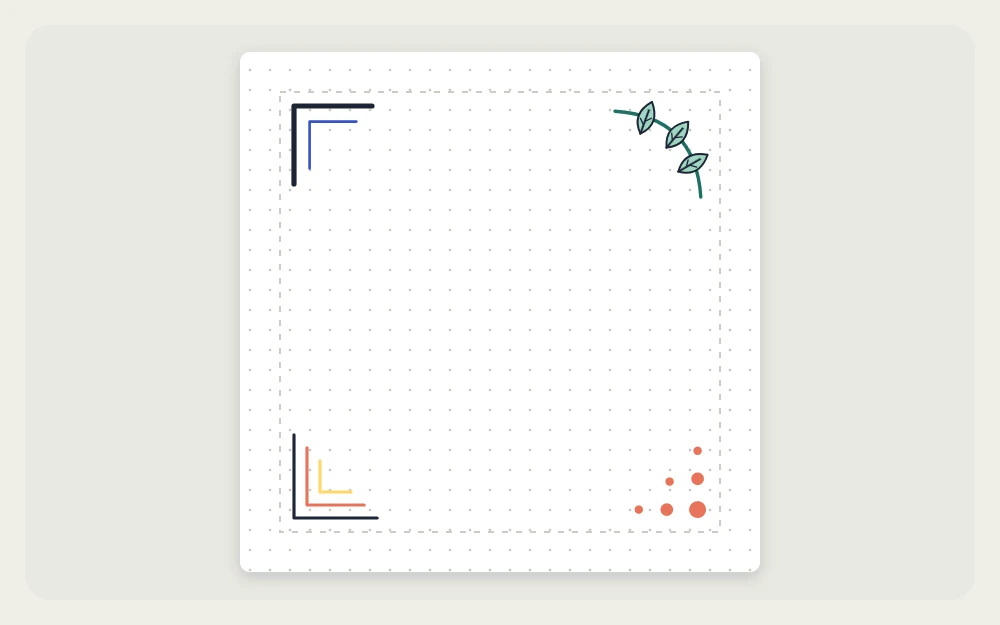
- Bracket. Two ruled lines meeting at a right angle, each 3 to 4 squares long, like a photo corner.
- Leaf sprig. A short curved stem growing diagonally out of the corner, with two or three leaves along it.
- Triple lines. Three short parallel diagonal strokes across the corner, the middle one longest.
- Dots. A small triangle of dots that thins out toward the center of the page: three, then two, then one.
The leaf used in the sprig and the vine is the same two-curve shape covered in the guide to simple bullet journal doodles, so practicing it once pays off twice.
Turning a divider into a full-page border
Any of the eight lines can run around a whole page. Rule a light pencil rectangle 1 or 2 squares in from the page edge, then draw your pattern along it, one side at a time.
The corners are the tricky part. The simplest solution is not to turn the pattern at all: stop each side one square short of the corner and place a single dot, small square or diamond there. The border then looks planned even if the four sides did not come out identical.
Keep the border away from the center fold of the notebook, where the paper curves and lines are harder to control. A three-sided frame that leaves the inner edge open is a perfectly good border.
Watch out
A border uses up writing room. A frame set 2 squares in on every side removes 4 squares of width from a page that has only about 26. On working pages, prefer corners or a single line at the top.
When a divider helps the layout
A divider is a structural line first and a decoration second. It earns its place when it does one of these jobs:
- separates two kinds of content on one page, such as tasks above and notes below
- closes one day in a running daily log before the next begins
- sets a title apart from the entries under it, alongside these bullet journal headers
- marks the end of a collection that stops halfway down a page
If two sections are already separated by a blank row or by boxes, a divider adds nothing and can be left out. One divider style per spread is usually enough. Match its weight to the lines of your layout so that it does not draw more attention than the header.
Pens, straight lines and small slips
A 0.3 mm fineliner suits most dividers, with a 0.5 mm tip for the thicker half of a double line. For ruled styles, turn the ruler so its edge sits slightly raised off the paper, which keeps ink from creeping underneath; the guide on how to use a ruler in a bullet journal shows how.
Repeated patterns forgive small errors, because the eye reads the rhythm and not the single mark. If one wave comes out too tall, keep going. If a line goes badly wrong, thicken it into a double line or cover it with a strip of washi tape. More fixes are in the guide on how to fix bullet journal mistakes.
Try each new pattern on a back page before using it on a spread. A row of ten repeats takes a few seconds and is enough to settle the rhythm in your hand.
Frequently asked questions
How do I keep a border pattern evenly spaced?
Decide how many squares one repeat of the pattern takes and follow the dot grid as you draw. Count the squares across the page first, and if the pattern will not end cleanly, start half a square in from each side so the leftover space is shared.
What is the easiest divider for beginners?
A dashed line or a double line. Both can be drawn along a ruler in a few seconds and look tidy even with unsteady hands. Dotted lines are nearly as easy. Waves, vines and scallops take more practice, so try them on a back page first.
Should every page have a border?
No. A full border takes writing space, so it suits covers and pages with little text. On pages you use daily, a single divider under the header or small marks in two corners gives a finished look and leaves the whole page free for entries.