How to Start a Bullet Journal: A Simple First Setup
Set up a blank notebook in one evening: number the pages, then add a key, an index, a future log, a first monthly log and a first daily log. No decoration needed.
Tutorial at a glance
Materials
- A5 dot-grid notebook
- Fine black pen (0.3 to 0.5 mm)
- Pencil and eraser
- 6-inch (15 cm) ruler
Learning how to start a bullet journal takes one blank notebook, one pen and roughly one quiet evening. The method is built from a handful of plain pages that work together: a key, an index, a future log, a monthly log and a daily log.
This first setup keeps everything simple. There is no lettering, no color and no drawing involved. Once the pages below exist, you can open the notebook tomorrow morning and use it. Decoration is optional and can wait until the structure feels familiar.
What you need before you begin
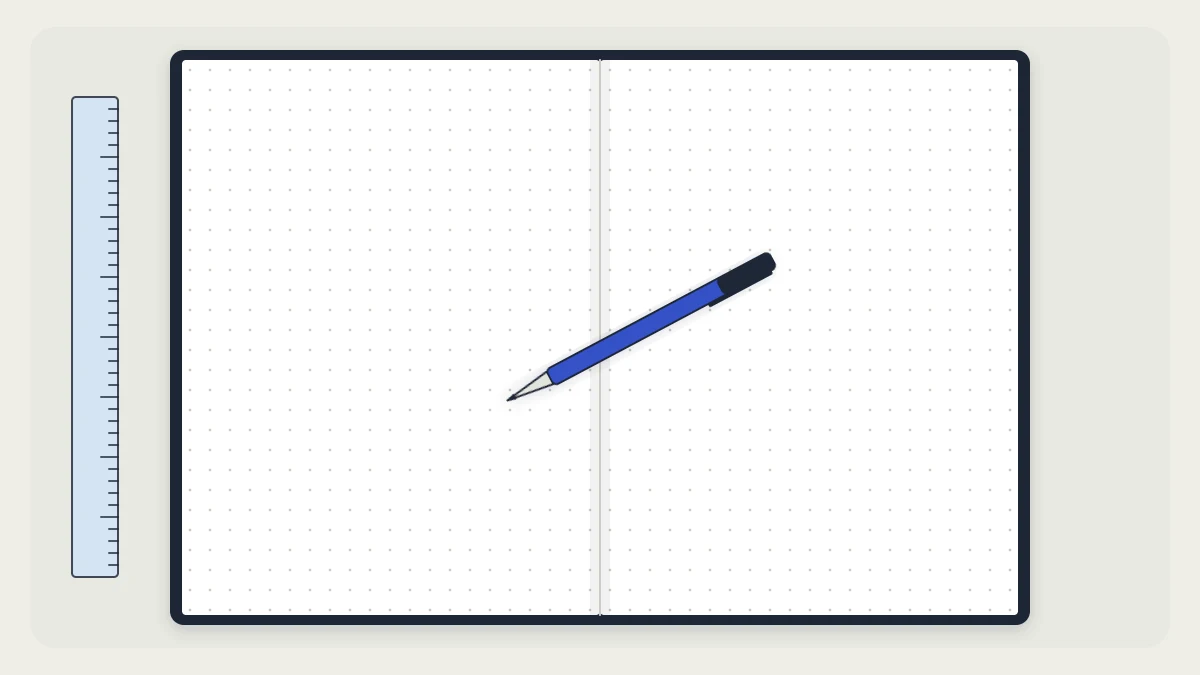
The kit is short: an A5 dot-grid notebook, a fine black pen (a 0.3 mm or 0.5 mm tip makes small writing easier), a pencil with an eraser and a 6-inch (15 cm) ruler. A lined or squared notebook works too; the dots only make it easier to draw straight boxes.
If you are still choosing a notebook, the guide to bullet journal supplies explains sizes, ruling and paper weight. For this setup, any notebook with around 100 pages or more is enough.
Clear a table and allow about 45 to 60 minutes. Most of that time goes into the future log and the monthly log.
The setup order at a glance
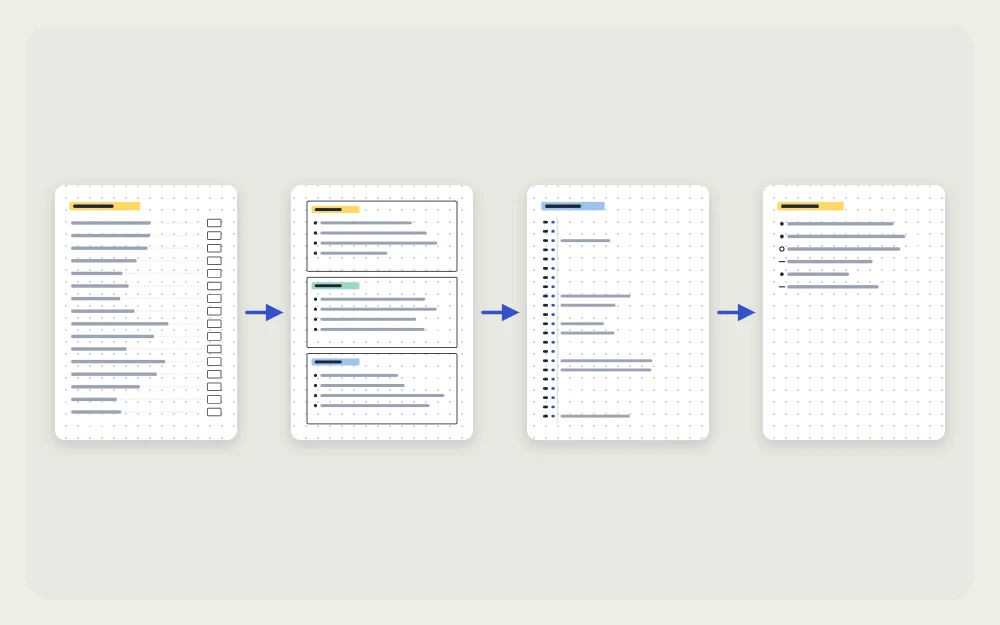
The pages go at the front of the notebook in a fixed order, because each one points to the pages that follow it.
- Number the pages.
- Write the key on page 1.
- Reserve pages 2 and 3 for the index.
- Draw the future log on pages 4 and 5.
- Set up the current month on pages 6 and 7.
- Start the first daily log on page 8.
Number the pages and write the key
Start at the first right-hand page and write a small number in the bottom outer corner of every page. Numbering the whole notebook now takes about ten minutes and means you never have to stop mid-entry to do it. If your notebook has printed page numbers, skip this step.
Page 1 is a single page with nothing facing it, which makes it a good home for the key. Write the symbols you will use, one per line:
- • for a task
- ○ for an event
- – for a note
- X for a completed task
- > for a task migrated to a later page
- < for a task scheduled into the future log
- a line struck through an entry for anything cancelled
That is enough to begin. The full explanation of each mark, plus signifiers such as a star for priority, is in the guide to the bullet journal key.
Reserve the index
Turn to pages 2 and 3 and write “Index” at the top of each. Leave the rest empty. The index fills up as you go: every time you start a new spread, you add its name and page number here.
Write the first two lines now: “Key: 1” and “Future log: 4–5”. Add another line each time you finish a page tonight. How to group entries, and which pages are not worth listing, is covered in the bullet journal index guide.
Draw the future log
Pages 4 and 5 hold the future log, a place for dates and tasks that belong to months you have not set up yet.
- Count the squares down your page. A typical A5 page has roughly 38, but notebooks vary, so count your own.
- Divide that number by three and make a light pencil mark at each third on both pages.
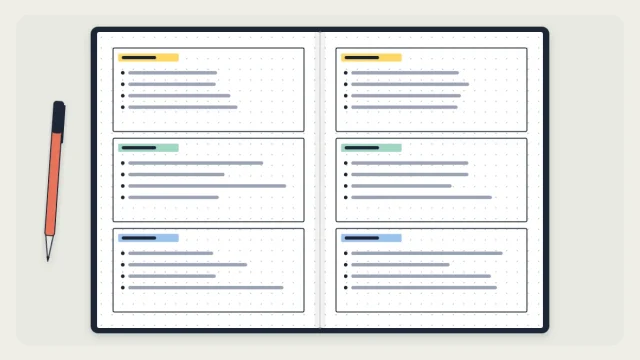
- Rule two horizontal lines across each page with the pen. You now have six boxes, one for each of the next six months.
- Write a month name at the top of each box.
Enter anything you already know: birthdays, trips, renewal dates, deadlines. Give each one a single line with the day number first. Other ways to draw this page are described in the future log layouts article.
Set up the first monthly log
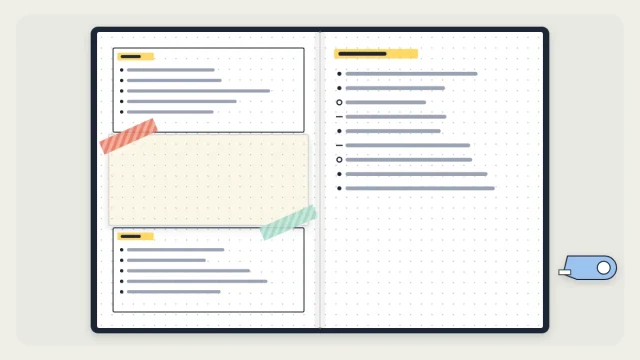
Pages 6 and 7 are the current month. On the left page, write the dates down the left edge, one per line, with the first letter of the weekday beside each number. This is your calendar: write events and appointments next to their date in a few words.
On the right page, write a task list for the month: everything you want to get done that is not tied to a particular day. Do not sort or rank it yet; just get it onto paper. Then copy across any entries waiting in this month’s box of the future log.
Tip
Starting in the middle of a month? Write only the days that are left. A short first month is normal, and next month’s log will be a full one.
Write the first daily log
Page 8 is where everyday use begins. Write tomorrow’s date as a header, then list what the day holds using the symbols from your key: a dot in front of each task, an open circle for each event and a dash for each note.
Keep entries to a few words. Do not draw a box around the day or reserve a fixed amount of space for it. When the day ends, write the next date directly underneath and carry on. Some days take four lines and some take a full page.

Keep it going after the first evening
The setup is finished. From here the notebook runs on three small routines:
- Each morning, or the evening before: write the date and list the day’s tasks, events and notes.
- At the end of the day: mark what is done and leave open tasks as they are.
- At the end of the month: draw a new monthly log on the next free spread and move unfinished tasks into it, marking each old entry with >.
Give the plain version about two weeks before changing anything. By then you will know which pages you open every day and which you ignore, and that tells you what to add, such as a weekly spread or a tracker, and what to drop.
Watch out
Do not draw several months of layouts in advance. Your preferences usually shift after a few weeks of real use, and pages already inked cannot be redesigned.
Frequently asked questions
Do you need a dot-grid notebook to start a bullet journal?
No. Any notebook works, including lined or squared paper. Dot grid is popular because the dots guide both writing and ruled lines without dominating the page, which helps once you draw boxes and calendars. For the plain first setup, the ruling makes very little difference.
Can you start a bullet journal in the middle of a month or year?
Start on whatever day it is. Write the monthly log for the remaining days only, and begin the future log with next month. There is no need to wait for January or the first of a month, because the pages are drawn by hand and can begin anywhere.
Does a bullet journal have to be decorated?
No. The core pages are lists with a few ruled lines, and they work in a single black pen. Headers, color and small drawings are a matter of taste. Many people add them gradually after a few weeks, once they know which pages they use most.